Writing Google Glass Apps With the GDK Sneak Peek
Since the beginning of time, humans have wanted to mount small computers on their heads. In 2013 we got our wish, as Google started releasing Glass onto explorers and developers alike. In November of 2013, Google released a “Sneak Peek” of the GDK, a way to write native code for Google Glass.
While the GDK is still under development and will probably change quite a bit before being finalized, those on the cutting edge will want to familiarize themselves with it.
In this quick start guide, I’ll go through the steps of writing your first GDK app, “Where Am I?” This app will ensure you are never lost. By simply shouting “Okay Glass, where am I?” the app will find your latitude and longitude, and try to find the nearest street address.
Prerequisites
In order to start writing native apps for Google Glass, here’s what you’ll need:
- Google Glass! There is currently no way to emulate the device and its sensors, so getting a real device is a must. You can request an invite directly from Google here, or search on Twitter for someone with a spare invite to share.
- ADT – Android Development Tools is basically a plugin for Eclipse that lets you compile and load your native code onto Glass.
- Source Code (optional) – I’ve included the source code for this app on Github here. If you want to follow along without copying and pasting a bunch of code, you can simply skip back and forth by running git commands that I’ll describe later on.
Getting Started
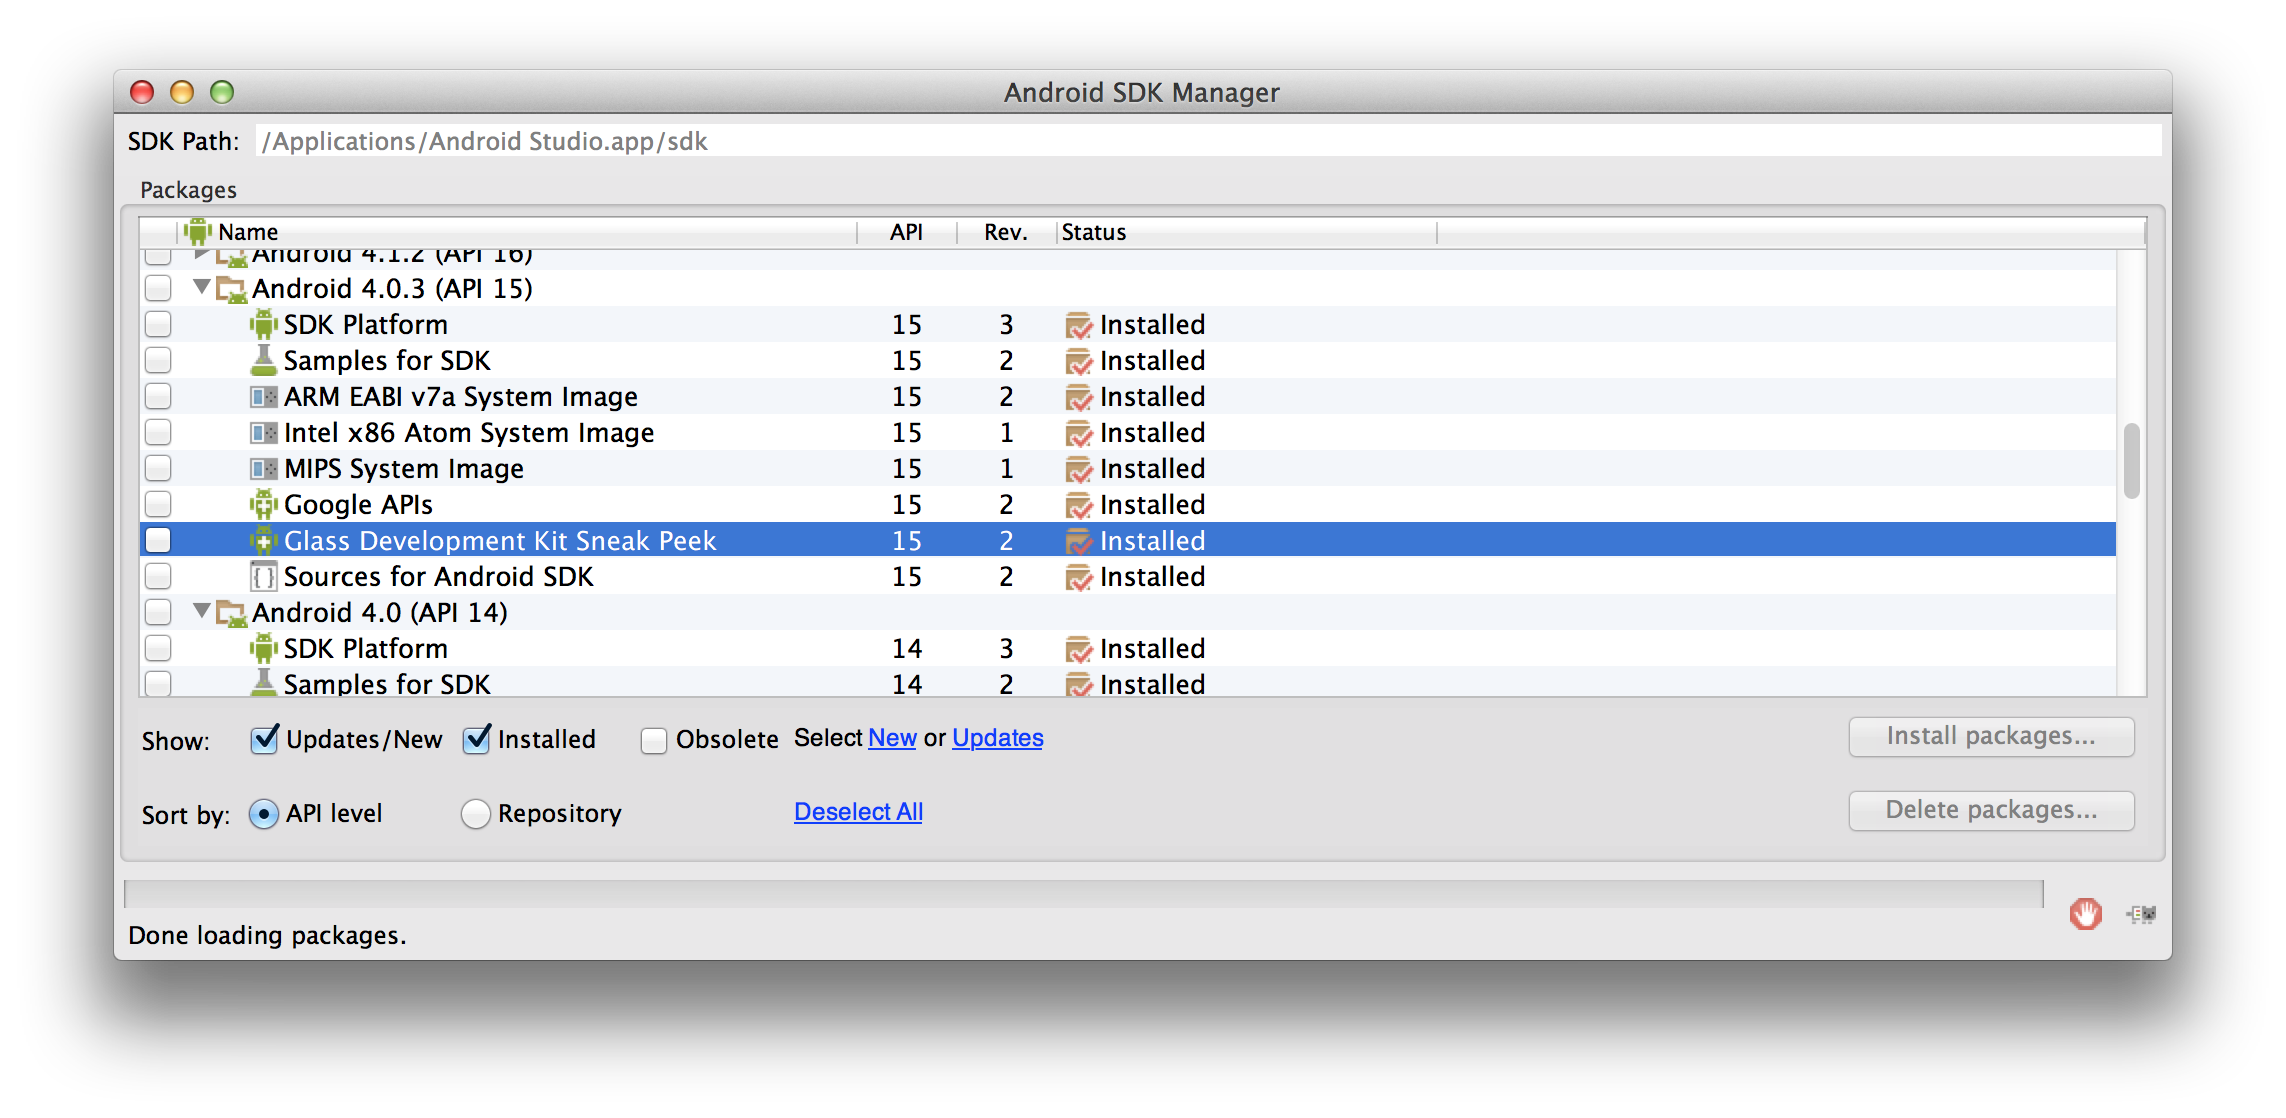
Google Glass runs on a special version of Android, “Glass Development Kit Sneak Peek” – a tricked out version of API 15. You’ll need to download this version with the Android SDK Manager within ADT (you can open it by clicking on the icon of the Android with a blue box and an arrow on it).
Once you’ve done that, you’ll need to create a new Android project with the correct SDK settings. Use API 15 for Minimum and Target SDK, and set “Compile With” to the GDK Sneak Peek.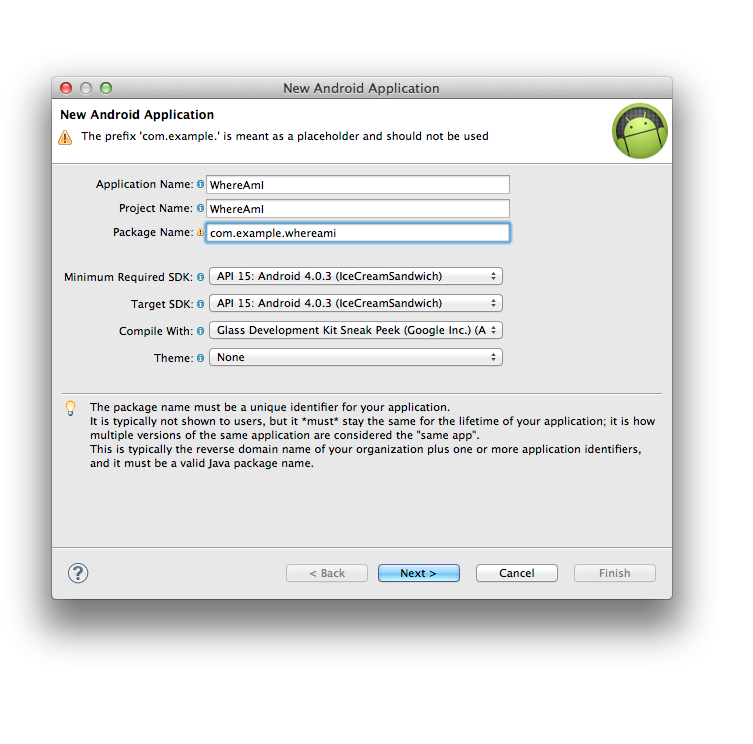 Congratulations! You’ve created a project that should run on Google Glass! If you try running the app on your device, it may or may not work, since it won’t have a voice trigger associated with it yet. We’ll add a voice trigger in the next step.
Adding a Voice Trigger
If you’re following along with git, you can type the following command to fill out all the code for this step:
git checkout -f step-1
Because Google Glass is such a new paradigm for user input, we’ll need to set up a voice trigger to allow the user to start our app. To do this, we’ll add some some strings to our strings.xml and add an xml resource that describes the voice trigger. Finally, we’ll add an intent filter to our AndroidManifest.xml to register the voice command.
- In res/values/strings.xml
<?xml version="1.0" encoding="utf-8"?>
<resources>

    <string name="app_name">WhereAmI</string>
    <string name="action_settings">Settings</string>
    <string name="hello_world">Hello world!</string>
    <string name="glass_voice_trigger">where am I?</string>

</resources>
- In res/xml/whereami.xml (you can name this file anything as long as you refer to the same file in AndroidManifest.xml
<?xml version="1.0" encoding="utf-8"?>
<trigger keyword="@string/glass_voice_trigger" />
- In AndroidManifest.xml:
...
            <intent-filter>
                <action
                    android:name="com.google.android.glass.action.VOICE_TRIGGER" />
            </intent-filter>
            <meta-data android:name="com.google.android.glass.VoiceTrigger"
                android:resource="@xml/whereami" />
...
Now, if you run your code on Glass, you should be able to find the “Where Am I?” command in the Ok, Glass menu!

Using Glass Cards
We’ve gotten voice commands working, and that’s half the battle. Next we’ll learn how to use Cards, the native user interface for Glass. We’ll need to remove the existing style, then instantiate a Card object, set up its text and set it as the content view.
- Remove the line in AndroidManifest.xml that reads:
android:theme="@style/AppTheme">
- Import Card from the GDK and create a new Card instance in OnCreate()
...
import android.view.View;
import com.google.android.glass.app.Card;
public class MainActivity extends Activity {
private Card card;
@Override
protected void onCreate(Bundle savedInstanceState) {
super.onCreate(savedInstanceState);
card = new Card(this.getApplicationContext());
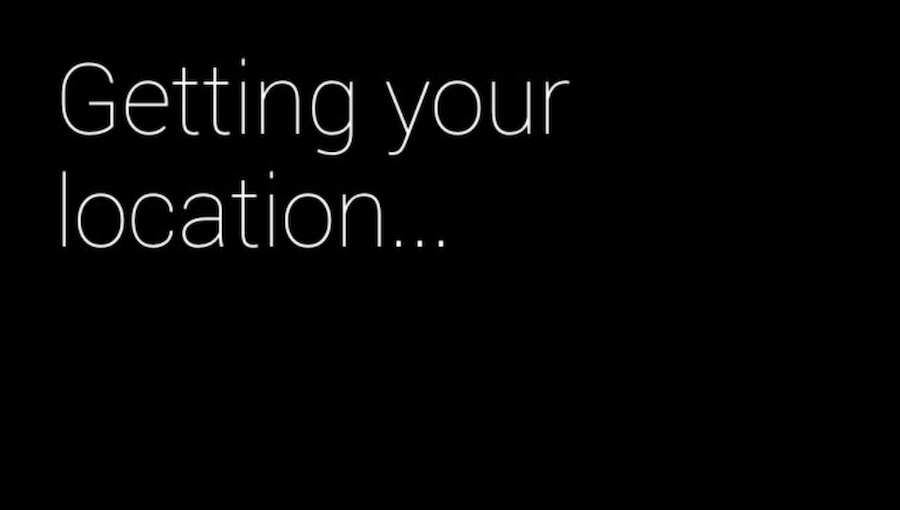
card.setText("Getting your location...");
View cardView = card.toView();
setContentView(cardView);
...
If you run the app, should see something like this:
Getting Location and Updating the Card
If you’re following along with git, you can type the following command to fill out all the code for this step:
git checkout -f step-2
Finally, we want to get the Glass’ location and update the card with the appropriate info. Our lost Glass Explorer will be found and all will be well. We’ll do this by requesting location permissions, setting up a LocationManager and handling its callbacks by updating the card with lat long and a geocoded address, if available.
- Ask for permissions for user location and internet in AndroidManifest.xml
...
    <uses-permission android:name="android.permission.ACCESS_FINE_LOCATION" />
    <uses-permission
        android:name="android.permission.ACCESS_LOCATION_EXTRA_COMMANDS" />
    <uses-permission android:name="android.permission.INTERNET" />
...
- Create a LocationManager that uses certain criteria to figure out which location services it can use on Glass in MainActivity.java
...
        locationManager = (LocationManager) getSystemService(Context.LOCATION_SERVICE);

        Criteria criteria = new Criteria();
        criteria.setAccuracy(Criteria.ACCURACY_FINE);
        criteria.setAltitudeRequired(true);

        List<String> providers = locationManager.getProviders(
                criteria, true /* enabledOnly */);

        for (String provider : providers) {
            locationManager.requestLocationUpdates(provider, 1000,
                    10, this);
        }
...
- Implement callbacks that will update the card when you get a location update in MainActivity.java
@Override
    public void onLocationChanged(Location arg0) {
		//show lat long to user
        String lat = String.valueOf(arg0.getLatitude());
        String lon = String.valueOf(arg0.getLongitude());

        card.setText("your location is " + lat + " " + lon);

        Geocoder geocoder = new Geocoder(this);

        try {
			List<Address> addresses = geocoder.getFromLocation(arg0.getLatitude(), arg0.getLongitude(), 1);
			if(addresses.size() > 0)
			{
				Address address = addresses.get(0);
				String addressString = "";

				for(int i = 0; i < address.getMaxAddressLineIndex(); i++)
				{
					addressString += address.getAddressLine(i) + " ";
				}
			card.setFootnote(addressString);
			}
		} catch (IOException e) {
			// TODO Auto-generated catch block
			e.printStackTrace();
		}

        View cardView = card.toView();
        setContentView(cardView);
	}
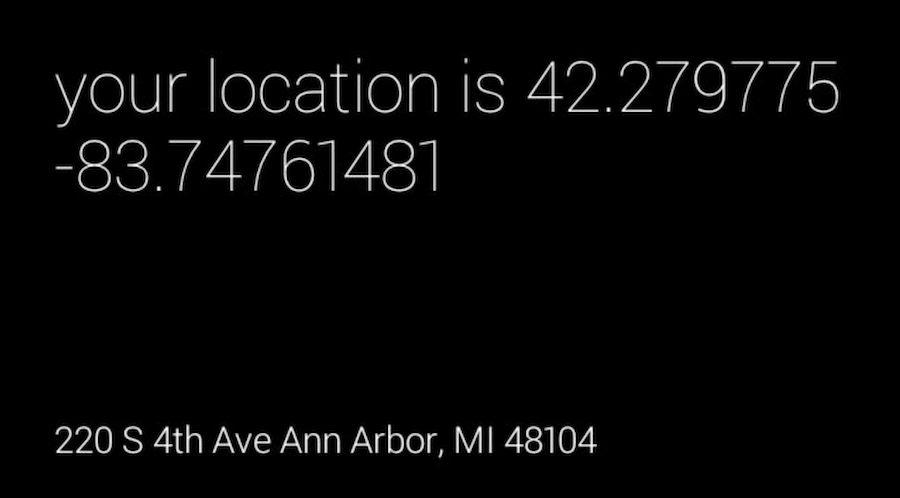
The app should now start getting location updates on the Glass (it can take a while to get a good fix) and update the Card once it finds you. The result should look something like this:
Congratulations! You’ve finished your first Glass app. Future generations will wonder how they ever knew where they were without a head mounted computer printing out their exact location on the earth into a glowing prism directly above their field of vision at all times!
For more information about the GDK, check out Google’s official documentation! Glass on!